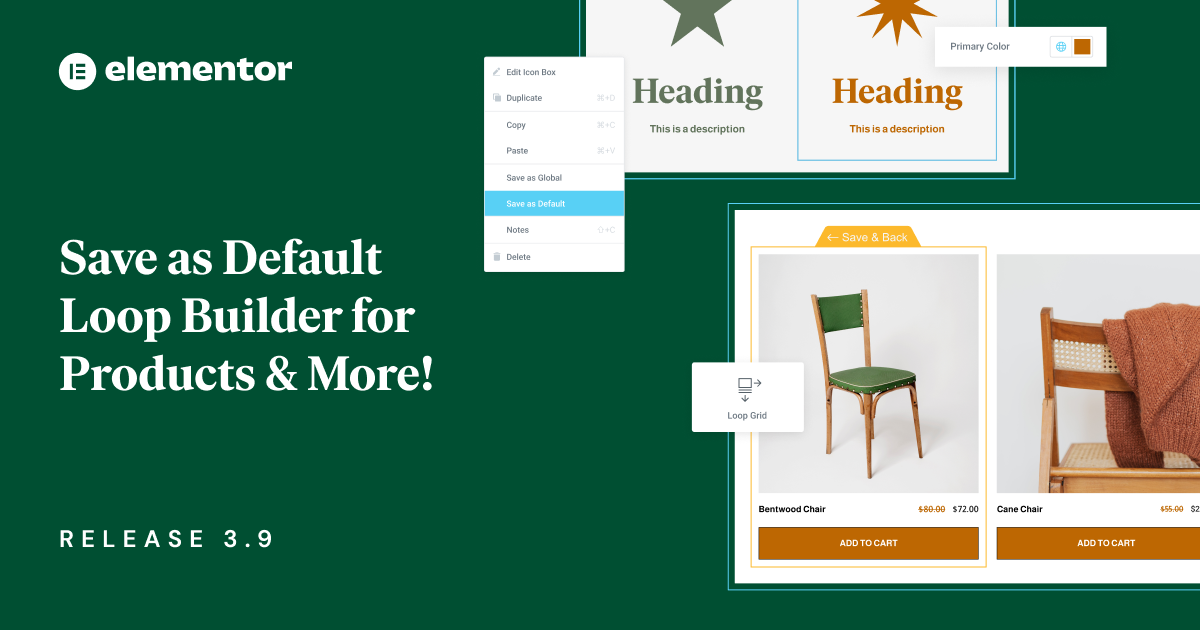
Elementor 3.9 includes the new Save as a Default option, broadens the capabilities of the Loop Builder to support WooCommerce and the section-based layout, and several additional features that improve the design of your website and its user experience.
New: Save as Default
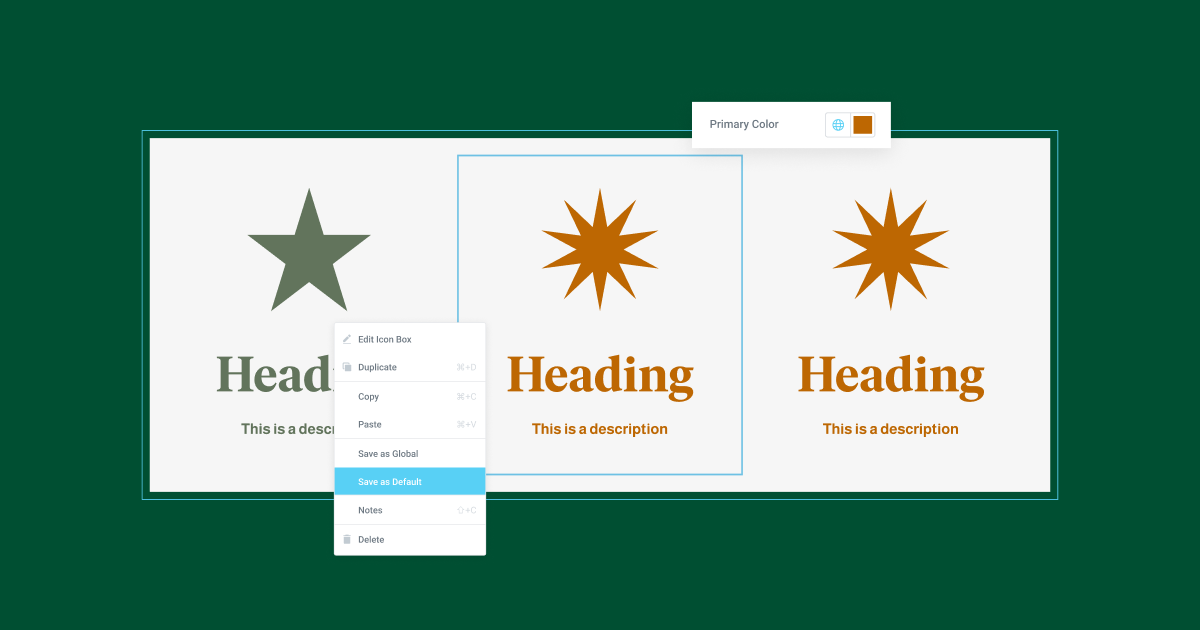
With Elementor 3.9, you can leverage the new Save as Default feature to improve your design workflow and fully customize the way elements appear on your website upon being dragged into the Editor.
With this update, you will be able to adjust all the default settings of every single element and customize it to your liking. You can replace the placeholder image with any image you prefer – such as your logo, adjust the placeholder text, and replace the colors and fonts with those of your preference. Then, save it as a default by left clicking the element and saving it. Following this action, any time you drag a new widget you’ve adjusted, it will display the new default settings you configured to it. To improve your workflow, and accelerate your website creation process, all new default settings can also be carried over to any kit or template you import / export.
Every Elementor element includes preconfigured default styling and advanced settings. These include placeholder images, icons or texts, default colors and fonts or association with specific global colors and fonts. Meaning – if we take the Button widget as an example, everytime you drag it to the Editor from the widget panel, the background will adopt the Accent color set up in your Global Colors, the text color will be white, etc.
Since the new Save as Default feature will save any changes you make to the elements before you save them, it is important to pay special attention to not include sensitive information before saving as a new default. For example, it is not recommended to include the email address of your PayPal account before saving the PayPal button as a new widget. The same applies for any sensitive information, including CSS ID, API Keys and so on.
Below are three (of many) examples of how you can use the new Save as Default feature:
- Update the colors or fonts of an element, to be associated with different global colors or fonts (such as primary instead of secondary)
- Set a new default padding, and margins of a widget, like a button.
- Include a logo, image or specific instructions as an image placeholder for image widgets, or text placeholders for textual widgets. That way, you can continuously promote your business as a web creator to your clients, and assist them as they make website updates.
[Pro] Loop Builder Extended to Support WooCommerce and Sections
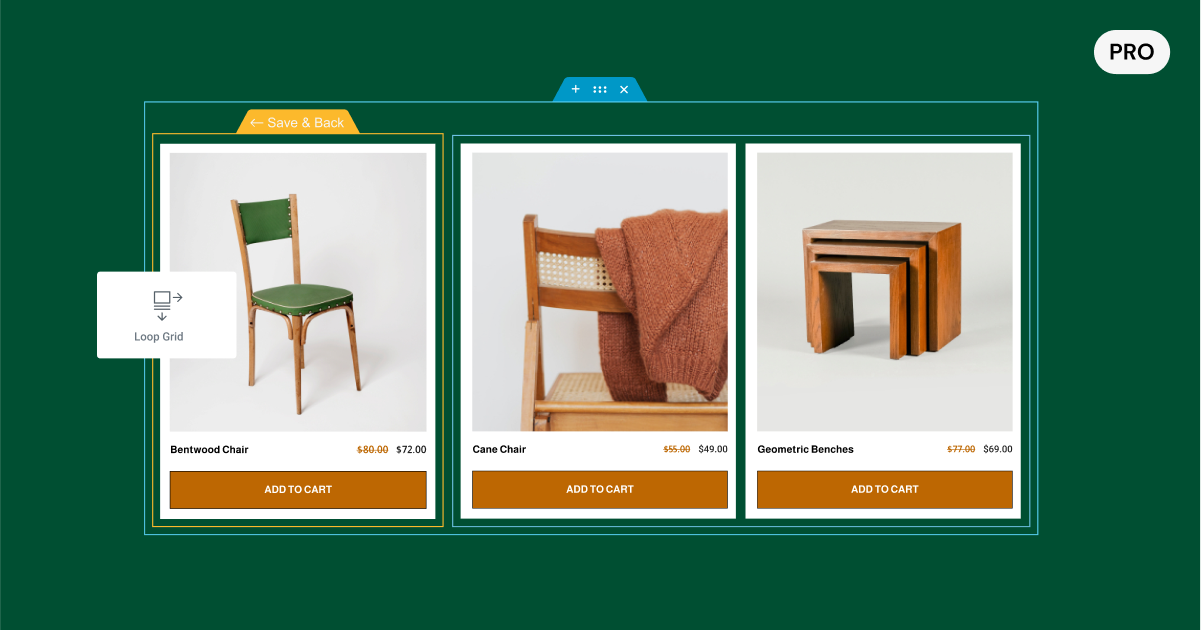
Following the release of the Loop Builder in Elementor 3.8, this version broadens the capabilities of the Loop Builder to support WooCommerce. With this update, you will be able to design your own custom template for Product Listings so you can unleash your creativity when designing your Ecommerce websites.
Now, when using the Loop Builder, you’ll start by choosing the type of template you want to create, for WooCommerce, you’ll choose Products. Then, the widget panel will recommend WooCommerce widgets at the top, but you can use any widget as well as any Dynamic Content tag to display additional WooCommerce content in your Main Item template.
Once you’ve finalized the design of your template, you will be able to use it on any page, adjust its layout, pagination and styling and display your products in a way that best suits your design and brand.
Elementor 3.9 also introduces support for the section-column layout, so if you’re not quite ready to start using Flexbox Containers yet, you can still use the Loop Builder to create custom listings using the section-column layout.
[Pro] Enhanced Popup Advanced Rule – Show up to X Times Persistent, or Per Session / Day / Week / Month
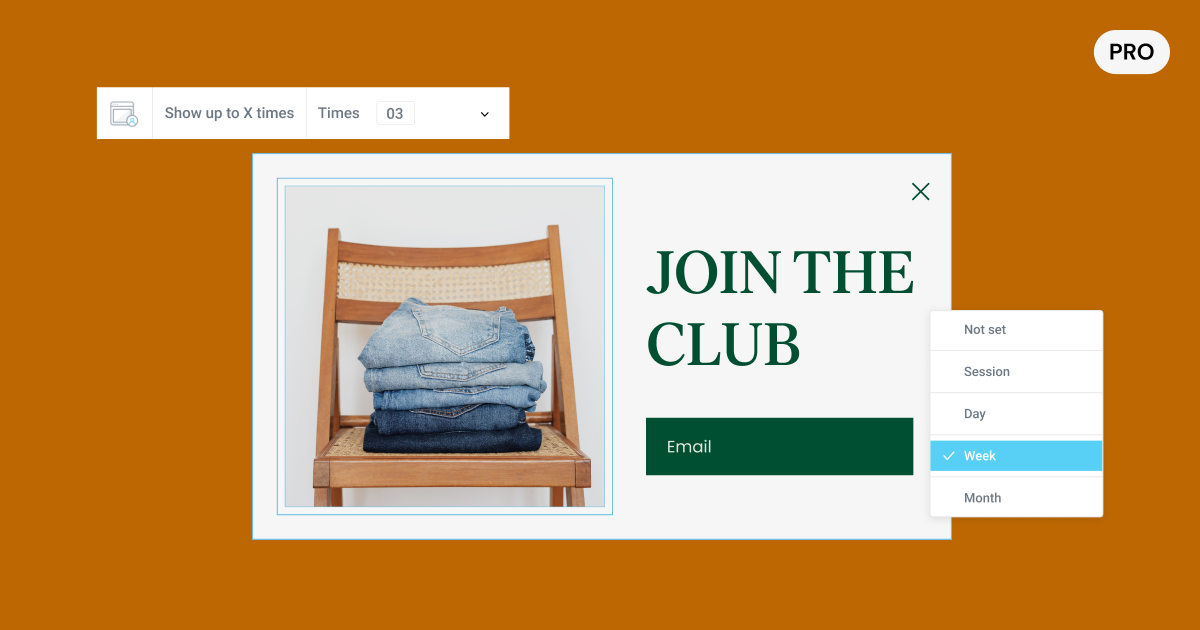
One of the most popular requests for Elementor Popups was to enhance the advanced rule that determines how many times a popup appears. Up until now, you would be able to have the popup appear X number of times, but the time frame in which they would appear wouldn’t be specified. So, if you would set a popup to appear 3 times, it would appear the next 3 times the visitor visited your website, regardless of their visiting frequency.
With this updated advanced rule, you will be able to set the number of times you want the popup to appear – persistently, or within a specific time frame of – a session, a day, a week, or a month. That way, you can deliver your popups at the desired frequency, improve the user experience and achieve the desired outcome of the popup.
Performance Improvements
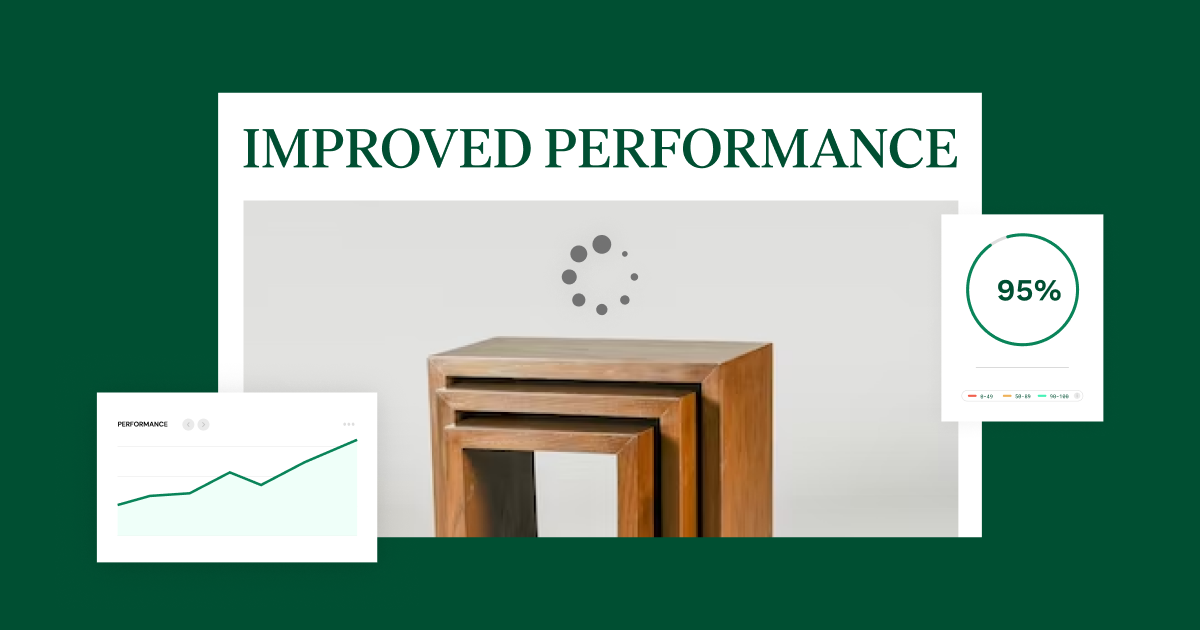
We are continuously looking for ways in which we can improve the performance of your website, and recently partnered with Chrome to identify areas of opportunity together. Elementor utilized Google tools including the Chrome User Experience Report and Core Web Vitals Technology Report, while receiving technical consultation from a Chrome expert. Elementor 3.9 introduces a number of performance improvements that can have a significant impact on the performance of your website, including:
Background Images Lazy Load Alpha Experiment
Background images are an integral part of designing a website, but they can have a negative impact on performance and the score of Largest Contentful Paint (LCP). Optimizing your website’s performance and LCP score is important to optimize your visitors’ experience when visiting your site, as well as improving your discoverability in search engine results.
By adding Lazy Load to background images, you can improve your website’s performance and LCP score, without compromising on your website’s appearance.
Activating this experiment will apply lazy load to all background images below the fold, in the following areas:
- Section – section background, and section background overlay
- Column – column background
- Container – container background and Container background overlay
- Generic widget background – accessed from the Advanced tab.
Elementor now Compatible with the Performance Lab for “WebP Uploads”
When activating the Performance Lab plugin, images you upload as JPEGs will automatically be converted to WebP. If the Performance Lab plugin is unable to successfully convert the image format to WebP, the website will show the default JPEG. Additionally, only JPEG images that are uploaded after activating the Performance Lab plugin will convert to WebP format, all images uploaded before then will maintain their JPEG format.
More Customization, More Design, More from Elementor
Elementor 3.9 is all about empowering you to achieve more with your websites, in a more convenient manner. With the new ability to Save as Default, you get to customize the starting point of every element to your website’s needs, and accelerate your creation process. This update also includes enhancements to the Loop Builder, so you get to customize the design of your websites even more, as well as an abundance of performance improvement features – so you don’t have to choose between the appearance of your website, and its performance.
Try out the new features in Elementor 3.9, and let us know how you’ll be using these new features on your website in the comments section.
Looking for fresh content?
By entering your email, you agree to receive Elementor emails, including marketing emails,
and agree to our Terms & Conditions and Privacy Policy.
