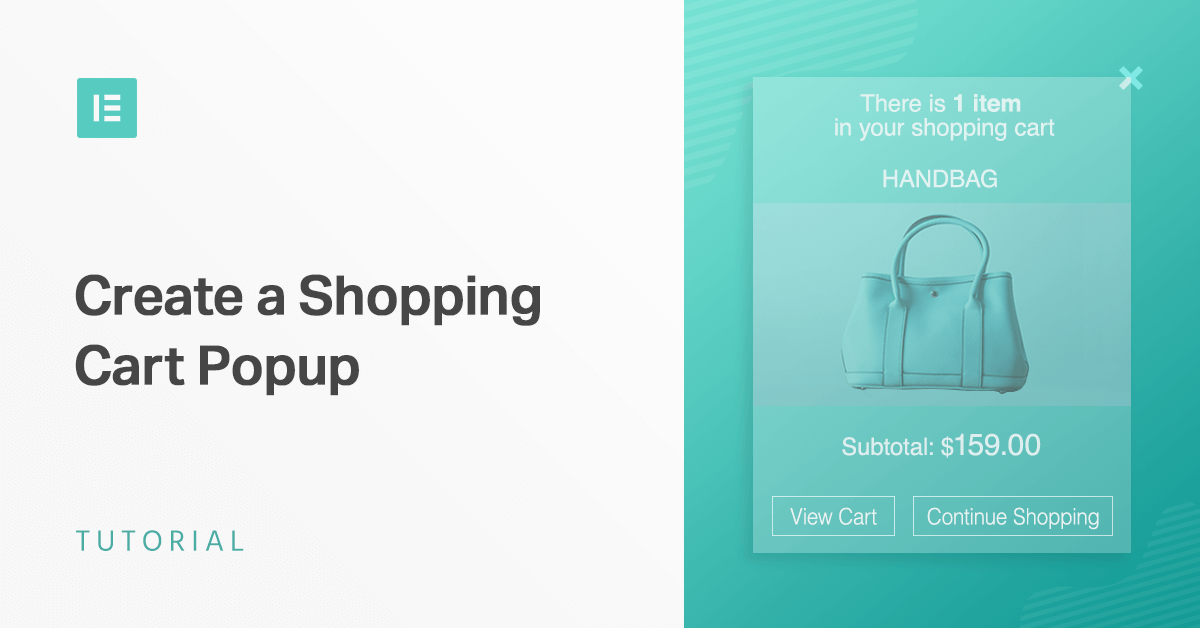
In this last tutorial, you’ll learn how to create a shopping cart popup that displays on your shoppers’ cart pages. This is a great way to encourage shoppers to share your products or to overcome last-minute objections and get that sale.
Here’s an example of a popup you’ll build:
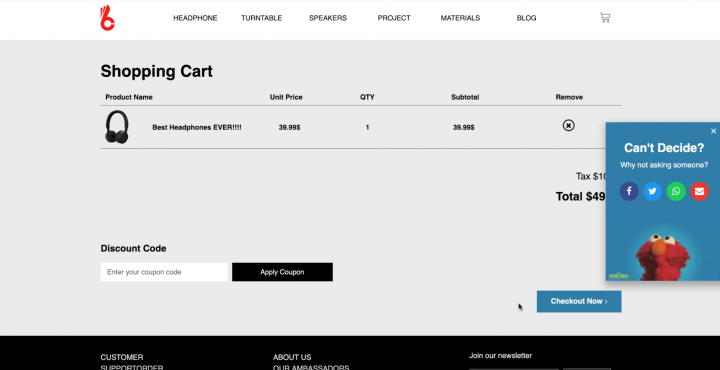
Your shopping cart popup will appear after a user has been inactive on the shop page and encourage them to share your store with their friends.
Here’s how to build a popup:
Step 1: Create a New Popup Template
To get started, use Finder to add a new popup, or go to Templates → Popups → Add New.
Once you give your template a name and click Create Template, you’ll see a list of the 100+ popup templates in the template library. Choose an existing template, or close the template library to start from scratch.
Step 2: Add Popup Content
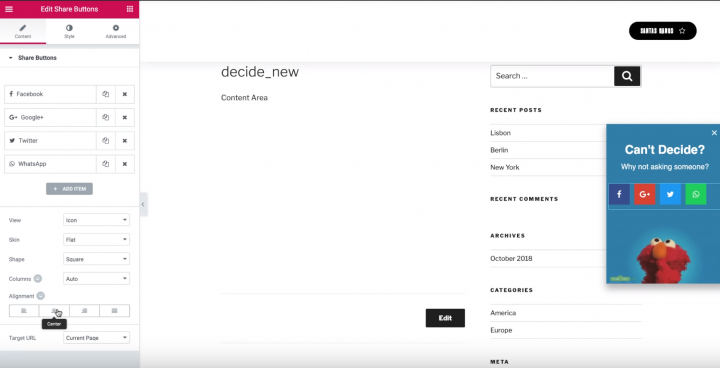
Next, add the text, images, and share buttons to your popup using widgets. Make sure to align everything to the center:
Step 3: Add Entrance Animation
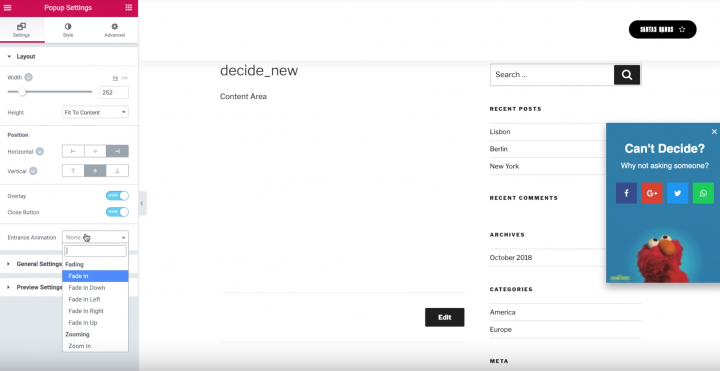
Once you’ve added the popup’s content, go to the Popup Settings and add a Slide In Right animation using the Entrance Animation drop-down and set the duration to “1”:
Step 4: Add Conditions, Triggers, and Advanced Rules
Next, click Publish to open the Publish Settings.
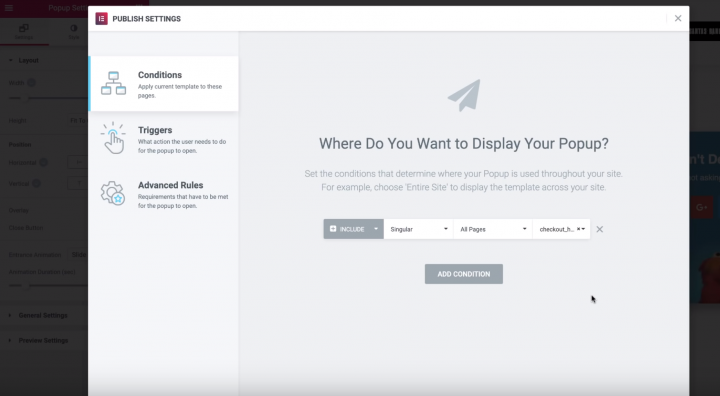
In the Conditions tab, create a condition to target a singular page and choose your checkout page:
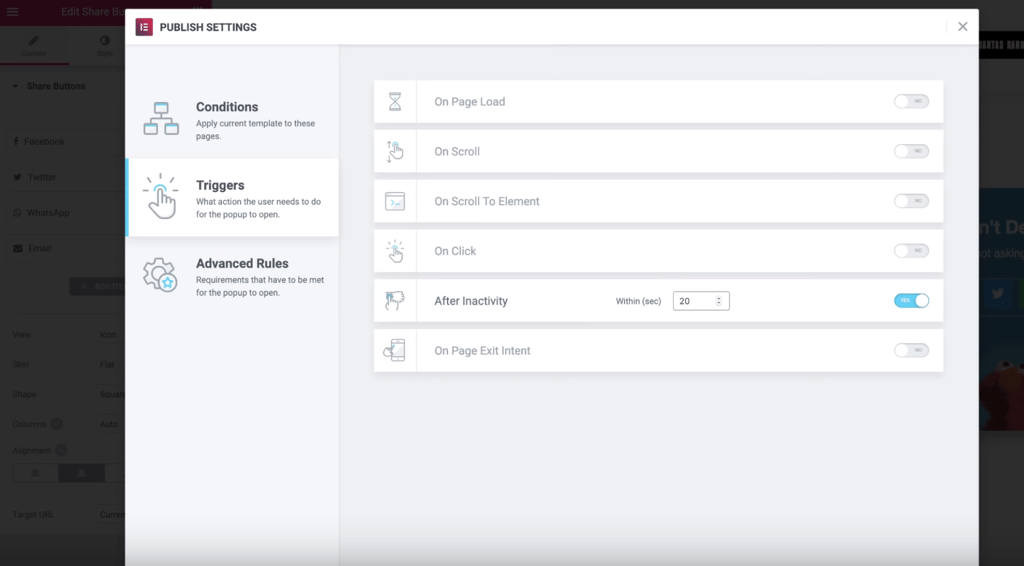
Then, go to the Triggers tab and turn on the After Inactivity rule and set it equal to 20 seconds:
You do not need any Advanced Rules for this popup, so go ahead and click Save & Close to finish and make your shopping cart popup live.
Conclusion
As this series of tutorials shows, you can use Elementor Popup Builder in some creative ways to improve your store and boost sales. Give these popups a try, and don’t be afraid to get creative with your own tweaks and ideas!
Looking for fresh content?
By entering your email, you agree to receive Elementor emails, including marketing emails,
and agree to our Terms & Conditions and Privacy Policy.
